What you Get

You’ll receive a pre-configured image download to flash onto a MicroSD card, making it easy to set up and use with a Raspberry Pi. This image contains all the necessary software and features to seamlessly integrate your smart home devices, allowing for a quick and hassle-free DIY setup
What you Need

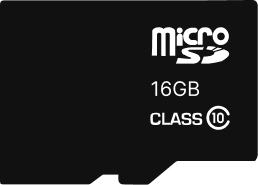
You will need a MicroSD card with a minimum capacity of 8GB to use with your Raspberry Pi. For optimal performance, we recommend using a high-class MicroSD card, as it ensures faster read/write speeds, greater reliability, and smoother operation for your smart home setup.

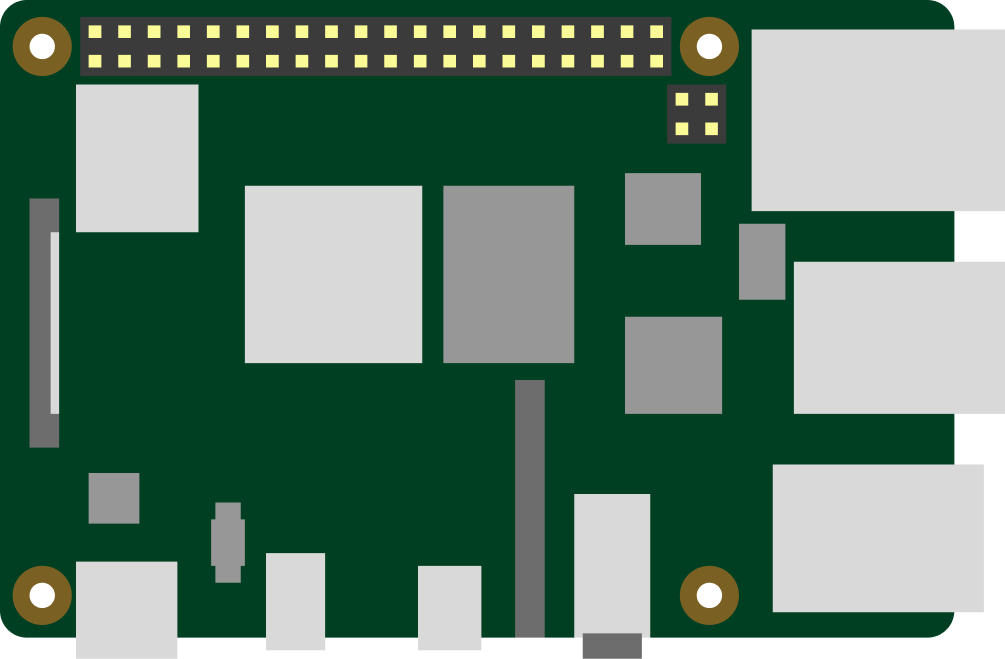
The HOOBS Image download is fully compatible with Raspberry Pi 3B, 3B+, and Raspberry Pi 4 models, offering a seamless integration experience. Whether you’re using a Raspberry Pi 3B, 3B+, or the latest Raspberry Pi 4, this HOOBS Image to flash onto your microSD Card ensures quick setup and smooth operation, providing reliable performance for your smart home automation needs.
The HOOBS Image comes preloaded with the full software stack, including all features for a complete smart home experience. Simply flash and insert your microSD card into your Raspberry Pi, and you’re ready to go. No additional downloads or setups are needed, providing instant access to seamless device integration and automation management.

How to Setup
You will need to flash the HOOBS image onto your MicroSD card using the Raspberry Pi Imager tool. This simple process ensures the HOOBS software is correctly installed and fully optimized for use with your Raspberry Pi. Once flashed, your device will be ready for seamless setup, integration, and management of your smart home devices, allowing you to quickly control and automate your smart home ecosystem with minimal effort.
To flash the HOOBS image onto your MicroSD card using the Raspberry Pi Imager tool, follow these steps:
1. Download the Raspberry Pi Imager:
• Visit the official Raspberry Pi website and download the Raspberry Pi Imager for your operating system (Windows, macOS, or Linux).
2. Install the Raspberry Pi Imager:
• Follow the installation instructions for your operating system.
3. Prepare the MicroSD Card:
• Insert your MicroSD card (8GB minimum) into your computer using an SD card reader.
4. Launch Raspberry Pi Imager:
• Open the Raspberry Pi Imager tool after installation.
5. Select the HOOBS Image:
• In the Raspberry Pi Imager, click “CHOOSE OS”.
• Select “Use Custom” and browse to locate the HOOBS image file you’ve downloaded.
6. Choose the MicroSD Card:
• Click “CHOOSE STORAGE” and select the MicroSD card you inserted into your computer.
7. Flash the Image:
• Click “WRITE” to start flashing the HOOBS image onto the MicroSD card. This may take several minutes.
• Once the process is complete, the Raspberry Pi Imager will show a success message.
8. Insert the MicroSD Card:
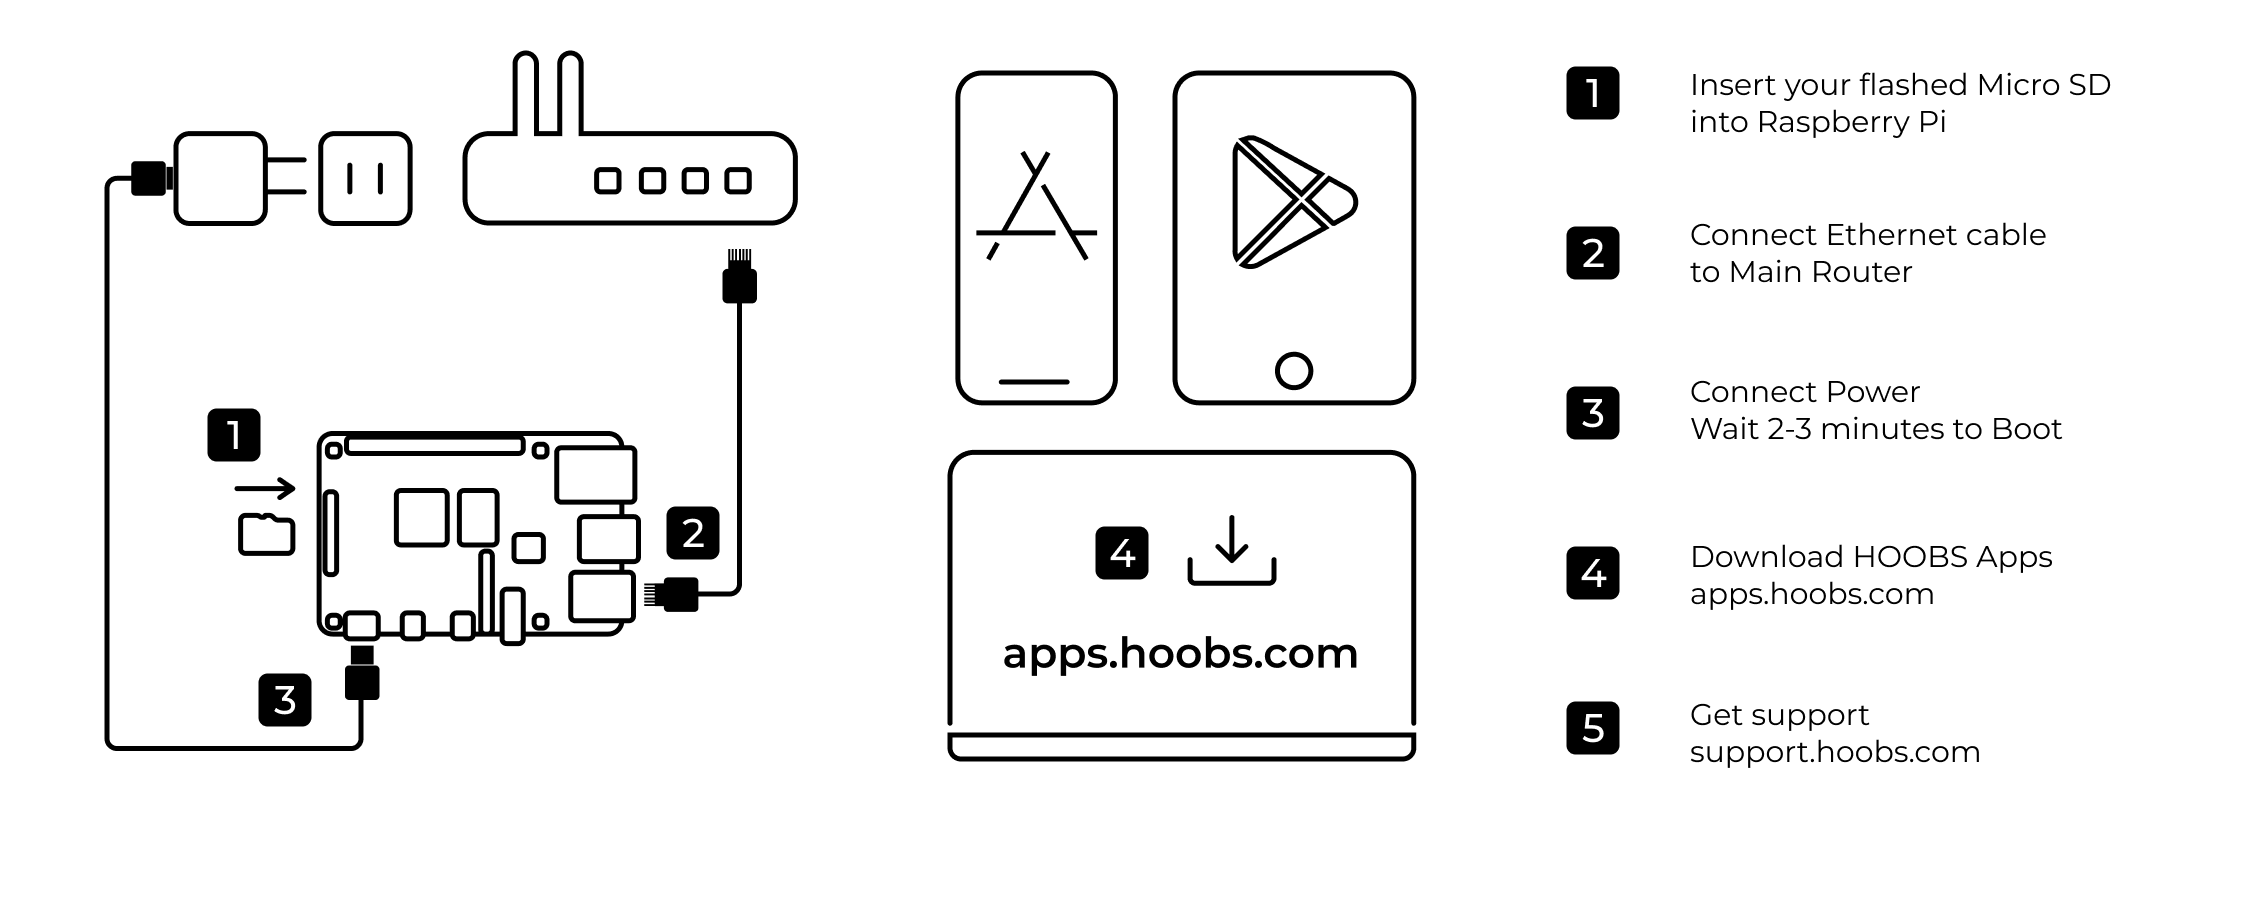
• After flashing is complete, safely eject the MicroSD card from your computer and insert it into your Raspberry Pi.
Your Raspberry Pi is now ready to run HOOBS, and you can proceed with the setup of your smart home devices.

Before you Buy

Before purchasing, we highly recommend checking if your accessories and the brands you wish to connect are compatible with our plugins. Ensuring compatibility will help you avoid any connectivity issues and guarantee a smooth integration process. This ensures that you get the most out of your HOOBS Box experience, allowing seamless operation and maximum functionality for all your smart home devices. Taking this simple step can save time and effort, providing a hassle-free setup for your smart home.
Unleash the full potential of your smart home
“Our dedication has always been to unify and simplify your smart home experience”
“We take it a step further by making home automationeasy for your everyday life, ensuring everything works seamlessly and effortlessly for you.”
